Hey there, fellow traders! Today, I’m excited to dive into the Turtle Trading Channel, an amazing trend-following system developed by Dennis Gartman and Bill Eckhart. This system is all about riding the waves of breakouts from historical highs and lows, and it’s a game changer for those of you tired of the usual "buy low, sell high" routine. Believe it or not, this method transformed a group of everyday folks into successful traders!
The key rule is simple yet powerful: "Trade an N-day breakout and take profits when an M-day high or low is breached (N must be greater than M)". Here are a couple of examples:
- Buy on a 10-day breakout and cash out when it hits a 5-day low.
- Short on a 20-day breakout and close the trade when it reaches a 10-day high.
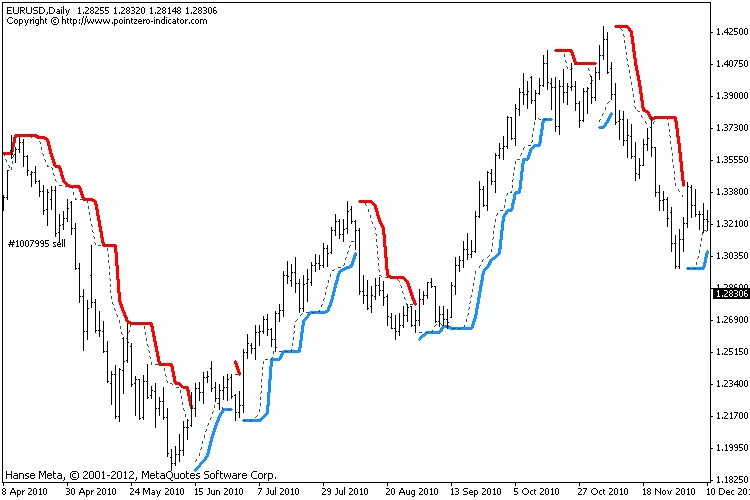
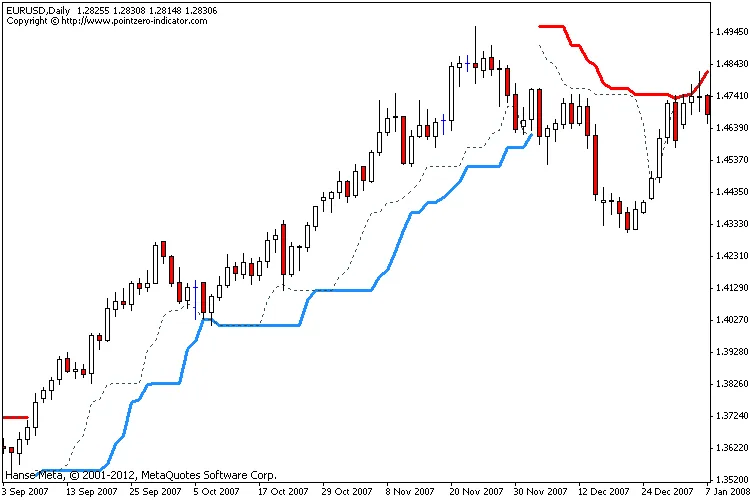
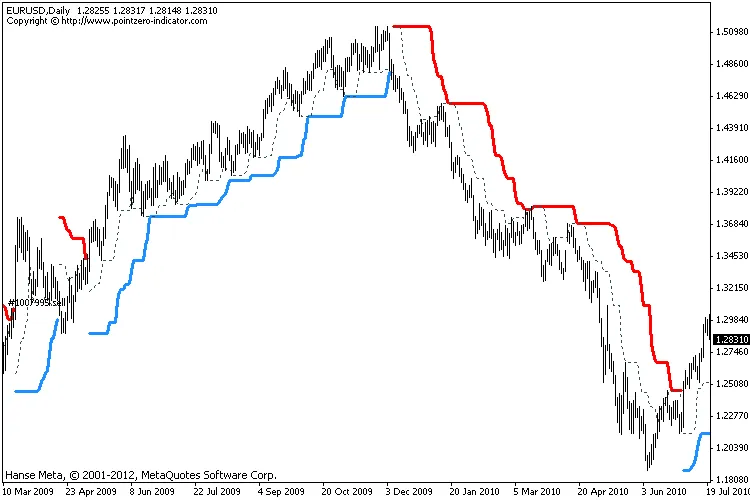
In this indicator, you’ll notice the red and blue lines acting as your trading lines, while the dotted line serves as your exit line. Here’s how the original system works:
- Go long when the trading line turns blue.
- Go short when the trading line turns red.
- Exit long positions when the price touches the exit line.
- Exit short positions when the price touches the exit line.
For those just starting out, I recommend setting your initial stop-loss at ATR * 2 from your entry price. The default parameters for the system are 20, 10 and 55, 20.
Now, I've tweaked the algorithm a bit to help you get those early entry signals while dodging random trend swings during volatile times. With this indicator, a trend change will only show when a bar closes above or below the current trendline, rather than just touching it. Keep in mind that this means you’ll only spot trend changes after the last bar has closed. For those who prefer a stricter approach, the original version is still available.
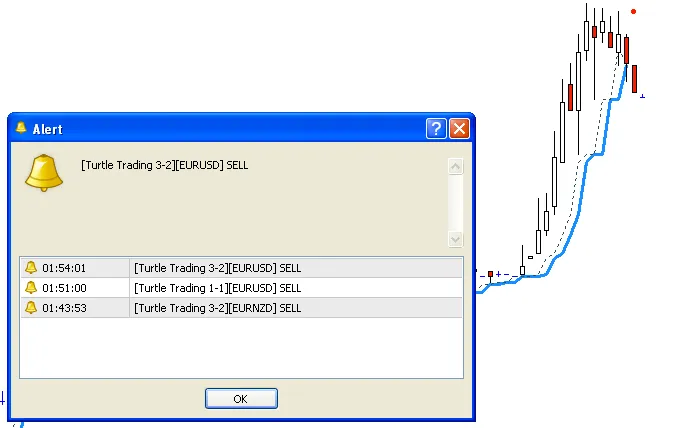
It’s a good idea to use this indicator alongside my other tool: The Classic Turtle Trading Indicator. They work well together to represent the same timeframe or serve as a failsafe trading system to provide additional signals if you’ve been stopped out. Both indicators come with trading alerts, which you can enable or disable based on your trading setup.
Original Turtle Rules:
To trade exactly like the turtles did, you need to set up two indicators representing the main and failsafe systems:
- Set up the main indicator with TradePeriod = 20 and StopPeriod = 10 (Also known as S1).
- Set up the failsafe indicator with TradePeriod = 55 and StopPeriod = 20, using a different color (Also known as S2).
The entry strategy using S1 looks like this:
- Buy 20-day breakouts using S1 only if the last trade was a loss.
- Sell 20-day breakouts using S1 only if the last trade was a loss.
- If the last trade was a win, hold off on trading - regardless of direction or whether you traded that last signal.
The entry strategy using S2 goes like this:
- Buy 55-day breakouts only if you ignored the last S1 signal and the market is rallying without you.
- Sell 55-day breakouts only if you ignored the last S1 signal and the market is dropping without you.
The turtles used a progressive position sizing approach to maximize their profits. Once you’ve made a trading decision, here’s how to proceed:
- Enter the market with a 2% risk. Set your stop-loss at 2ATR from the opening price.
- If the position moves in your favor by 1/2ATR, re-enter the market with another 2% risk and adjust all stop-losses to 2ATR from the current price.
- Repeat this process if the position continues to move in your favor.
- Stop adding positions after you’ve taken 4 trades. (*** Refer to the money management rule below)
The exit strategy is managed using the dotted line of the indicator:
- Exit longs taken with S1 when price action closes below a 10-day low.
- Exit shorts taken with S1 when price action closes above a 10-day high.
- Exit longs taken with S2 when price action closes below a 20-day low.
- Exit shorts taken with S2 when price action closes above a 20-day high.
The turtles also followed strict money management rules. Initial position risk was set at 2%, but this decreased with drawdowns:
- At a 10% drawdown, reduce risk by 20%.
- At a 20% drawdown, reduce risk by 40%.
- At a 30% drawdown, reduce risk by 60%.
- In general, if the account has an N% drawdown, reduce risk by N*2%.

Other Considerations:
- Don’t get too hung up on the 20,10 (S1) and 55,20 (S2) parameters.
- The TradePeriod should always exceed the StopPeriod.
Changelog:
- 2012-05-17: Added alerts, fixed a major bug, and included a raw version showing both channels.
- 2012-06-12: Updated the indicator to enable strict mode from the same file.


Comments 0